
Hanging 2D
Wire Decor
Christmas Lighting Made Easy
Essential Supplies
Supplies Used In Video
How to Hang 2D Wire Decor for Festive Events: A Complete Step-by-Step Guide
Introduction
Decorating for holidays like the Fourth of July should be fun, but hanging wire decor can be tricky. Doing it right makes your display look professional and keeps it safe. With the right tools and planning, you can create a stunning setup that lasts. In this guide, you’ll learn how to hang 2D wire decorations securely and neatly, making your celebration memorable and beautiful.
Choosing the Right Materials for Hanging Wire Decor
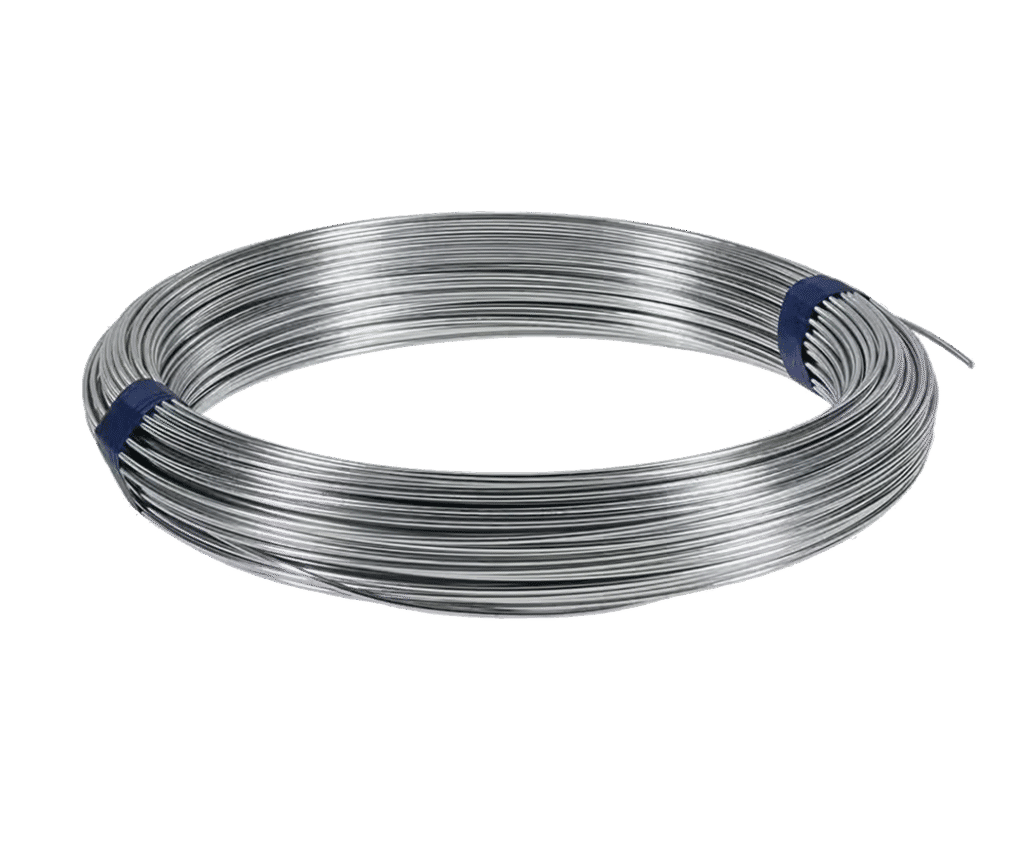
Types of Wire for Hanging Decorations
The kind of wire you choose is key for a successful installation. Wreath wire, often found at stores like Home Depot, is a great option. It has enough strength to hold decorations but stays flexible enough to bend and cut easily. Its gauge is sturdy without being too rigid. Other wires might be weaker or too stiff, making your setup harder to handle.
Essential Hardware and Tools
To hang wire decor, you’ll need several basic but important tools:
- Eyelet screws: These act as anchoring points in your wall or ceiling. They’re strong and easy to install.
- Ladder: For reaching high spots safely.
- Power supply and cords: If your decor involves lights, plan your wiring routes early.
- Wire cutters: To trim excess wire after hanging.
- Glue or adhesive: To tidy up loose wire ends for a clean look.
- Gloves: For safety, especially when working with wire.
Safety Considerations
Safety should always come first. Use a sturdy ladder and ensure it’s on a flat surface. For heavy decorations, add secondary supports like tethers. When working at heights, have someone hold the ladder to prevent slips. Do not rush — taking your time avoids accidents.
Preparing Your Wire Decor for Suspension
Attaching Wreath Wire for Stability
Start by wrapping wreath wire around the decoration’s top area. This acts like a secure loop that can be attached to the wall or ceiling. Hang the wire high enough so the decor drapes down naturally. Be sure to leave extra wire — about a foot or two — to give you space for adjustments.
Adjusting Length and Slack
Adding enough slack is essential for balancing the decor during hanging. It allows you to make small tweaks after it’s mounted. Stretch and gently pull the wire to find the right length before cutting. Remember, it’s easier to remove or readjust excess wire than to struggle with it when it’s all trimmed.
Pre-Planning the Installation Path
Before hanging, plan your wire route. Run the wire from your anchor point — like the eyelet screw — to the decoration. This prevents unnecessary climbing or back-and-forth moves. Visualize where everything will sit to avoid surprises during installation.
Step-by-Step Guide to Hanging 2D Wire Decor
Securing Anchor Points
Begin by installing eyelet screws into the designated spots, typically on the wall or overhead beams. Use a drill for easy insertion into sturdy surfaces. Make sure they’re screwed in tightly; loose screws won’t support the weight. Check if your decor is heavy — if yes, use anchors or more robust fasteners.
Lifting and Positioning the Decor
Carefully lift your decoration, using a ladder if it’s high up. Hold onto the wreath wire, keeping it steady while you position it over the eyelet screws. For lightweight decorations, this process is straightforward. Heavier pieces might require an extra hand for stability.
Attaching Decor to Anchors
Thread the wire through the eyelet screws. Turn or twist the wire to secure it snugly. Leave some excess wire hanging to make further adjustments easier. Cut off any extra wire with cutters, then tuck the ends into the decoration or glue them down to avoid snagging. Use a bit of glue to hide wire ends for a neat finish.
Final Adjustments and Safety Checks
Step back and look at your work. Adjust the slack to make sure the decor hangs level and flows nicely. Tighten or loosen wires as needed. Push or glue loose ends to keep everything tidy. Give your display a gentle tug to confirm stability. Double-check that all fixtures are secure before leaving the area.
Additional Tips for a Professional Looking and Safe Display
- Use hot glue to secure or hide loose wire ends—this keeps the look clean.
- Make sure your decoration drapes evenly for a polished appearance.
- Test the weight and stability by gently tugging before finishing.
- Regularly inspect the setup, especially after windy days or heavy rain, to keep it in good shape.
Real-World Examples and Best Practices
During a Fourth of July celebration, many decorators use these techniques to hang wire flags and stars over archways. One pro recommends always double-checking the quality of eyelet screws and using extra wire loops for heavy decor. Budget-conscious DIYers often save by reusing old wire and hardware, but safety should never be sacrificed. Remember, taking your time results in a more professional and safe display.
Conclusion
Hanging wire decor might seem simple, but it takes care and planning to do it right. Using the right wire, secure anchors, and careful measurements guarantees a look that’s both beautiful and steady. Always prioritize safety and plan ahead to avoid last-minute issues. Now, with this guide, you’re ready to create stunning wire displays that wow every guest and stand the test of time. Happy decorating!
