Complete Guide to Replacing Socket with a Socket Wrench
Introduction
Keeping your lights working properly depends on the condition of their sockets. Over time, these small parts can crack, break, or wear out from external impacts or everyday use. If you notice flickering bulbs, loose contacts, or visible damage, it may be time to fix or replace the socket. This guide walks you through the entire process, from inspection to final testing, so you can restore your lights safely and effectively.
Understanding Sockets
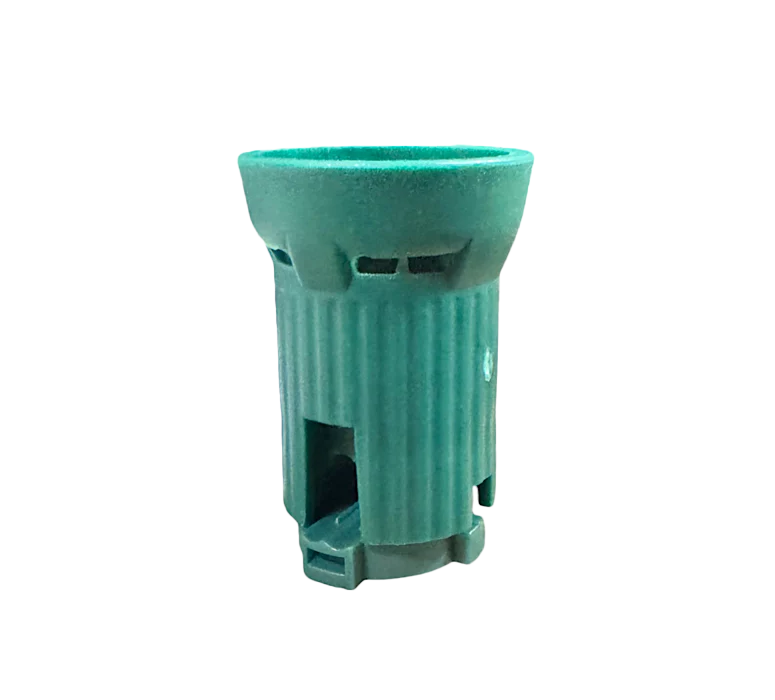
Sockets
A socket is the component that holds the bulb in place and makes electrical contact. It’s usually made of plastic and attaches to the power line. You might see different designs. Their job is simple: secure the bulb snugly so it can shine bright without flickering or losing contact.
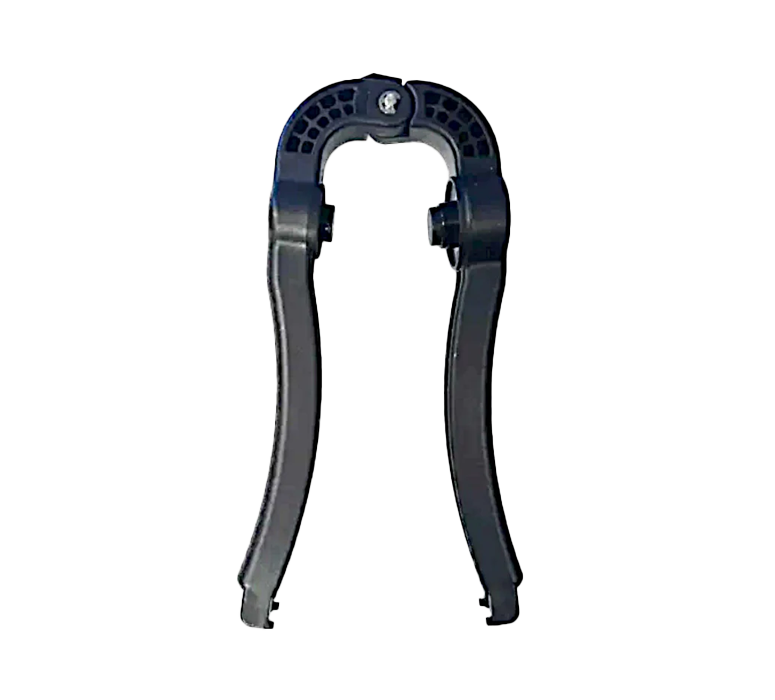
Gather tools like needle-nose pliers, Socket Wrench, Replacement Sockets, and wire cutters. Clear your workspace and make sure the power is off. Wearing gloves can add extra protection.
Step-by-Step Guide to: Removing a Damaged Socket
Common Causes of Damage
Sockets take a beating over time. Stepping on wires, accidental hits from yard tools, or storms can crack or damage the socket. Environmental factors like wind and rain can also degrade the material. When cracks appear or the socket feels loose, it’s a clear sign you need to replace it. Damage like a cracked or broken socket stops the bulb from making proper contact and can even pose a safety risk.
Diagnosing When a Socket Wrench Needs Replacement
Start by carefully looking at the socket. Cracks, chips, or discoloration are good clues that it’s no longer good. If parts are loose or if the plastic looks brittle, it’s time to swap it out. Check to see if the socket feels loose when you gently wiggle the bulb.
Functional Testing Methods
Turn on your power and see if the bulb lights. Flickering, dimming, or bulbs that don’t turn on mean the socket might be at fault. Remove the bulb and inspect the socket for signs of corrosion or damage. Make sure the contacts inside are clean and secure.
Precautions Before Repair
Always switch off the power before opening or working on any socket. Disconnect the socket from the line to prevent shocks. Use insulated tools if possible. Safety first is key to avoiding accidents.
Removing the Broken or Cracked Socket
If the socket is already cracked or loose, gently crush or pull it off without damaging the wire line. Sometimes, the infrastructure of the socket is already broken, making removal easier. Use pliers or a flat-head screwdriver to pry or crush the socket carefully. Avoid pulling too hard or twisting the wire, which could cause further damage.
Align the wire and socket reference points (like notches or tabs) for easy reattachment.
Installing a Replacement Socket
Pick a socket similar to the original, matching size and type. Many sockets have a notch that must face a certain direction for proper installation. Pay attention to the notch placement, typically towards you when installing.
Connecting the New Socket to the Line
Align the notch on the socket with the line’s notch, keeping the wire flat for proper insertion. Use your fingers or pliers to push the wire into the socket. When you hear a snap, the socket is seated correctly. Before snapping it shut, ensure the wire is firmly in the contact and not bent or crimped.
Testing and Finalizing the Repair Reattaching the Bulb and Power Testing
Insert the bulb, turn the power back on, and test your fixture. The bulb should light steadily. Feel the socket area for any signs of loose contact or flickering. Confirm that the socket is secure and makes good contact with the bulb base.
Troubleshooting Common Issues
Flickering or dimming lights after a repair could mean the socket isn’t seated firmly or isn’t making good contact. If problems persist, consider replacing the entire wiring run if multiple sockets are damaged or worn out. Sometimes, older wiring or connectors are just too worn to fix with a simple socket replacement. If only one or two sockets show damage, replacing just the socket is economical and quick. But if many are cracked or broken, replacing the entire wiring run may be wiser.
Conclusion
Fixing or replacing socket in socket line doesn’t have to be complicated. With the right tools, some patience, and safety habits, you can restore your lights quickly. Regular checks and timely repairs keep your outdoor or indoor lighting safe and bright. When in doubt or dealing with complex wiring, don’t hesitate to call a professional. Safety always comes first—if you’re unsure, getting expert help might be your best move. Keep your sockets in top shape for well-lit spaces and safe electrical connections.